Talk to Arish to start it, then reroute four subway stations and rescue Dr. Florez underground.
Talk to Arish to start it, then reroute four subway stations and rescue Dr. Florez underground.
by AllThingsHow Staff
Power Lines is a main story mission in Control Resonant that hands Dylan Faden a subway problem. New York’s power grid feeds the Cancellation Field Device through a set of stations connected to paranatural junctures, and one of them has slipped off the map. The quest opens with a briefing and ends with a rescue several platforms below street level.
Quick answer: Talk to Arish at the FBC Field Office in Central 3 to unlock Power Lines, then reroute the Perimeter, East Park, Factory, and Vanished Stations and speak to Dr. Florez to complete it.
Unlock Power Lines by talking to Arish
Power Lines is part of the Contain the Crisis story chain, and it becomes available only after you finish the short quest Arish’s Briefing. You need that briefing tracked as your active objective before anything else will progress.
Open the Quest Log and track Arish’s Briefing. The objective reads “Talk to Arish at the Field Office,” and the marker points to the FBC Field Office in Central 3.
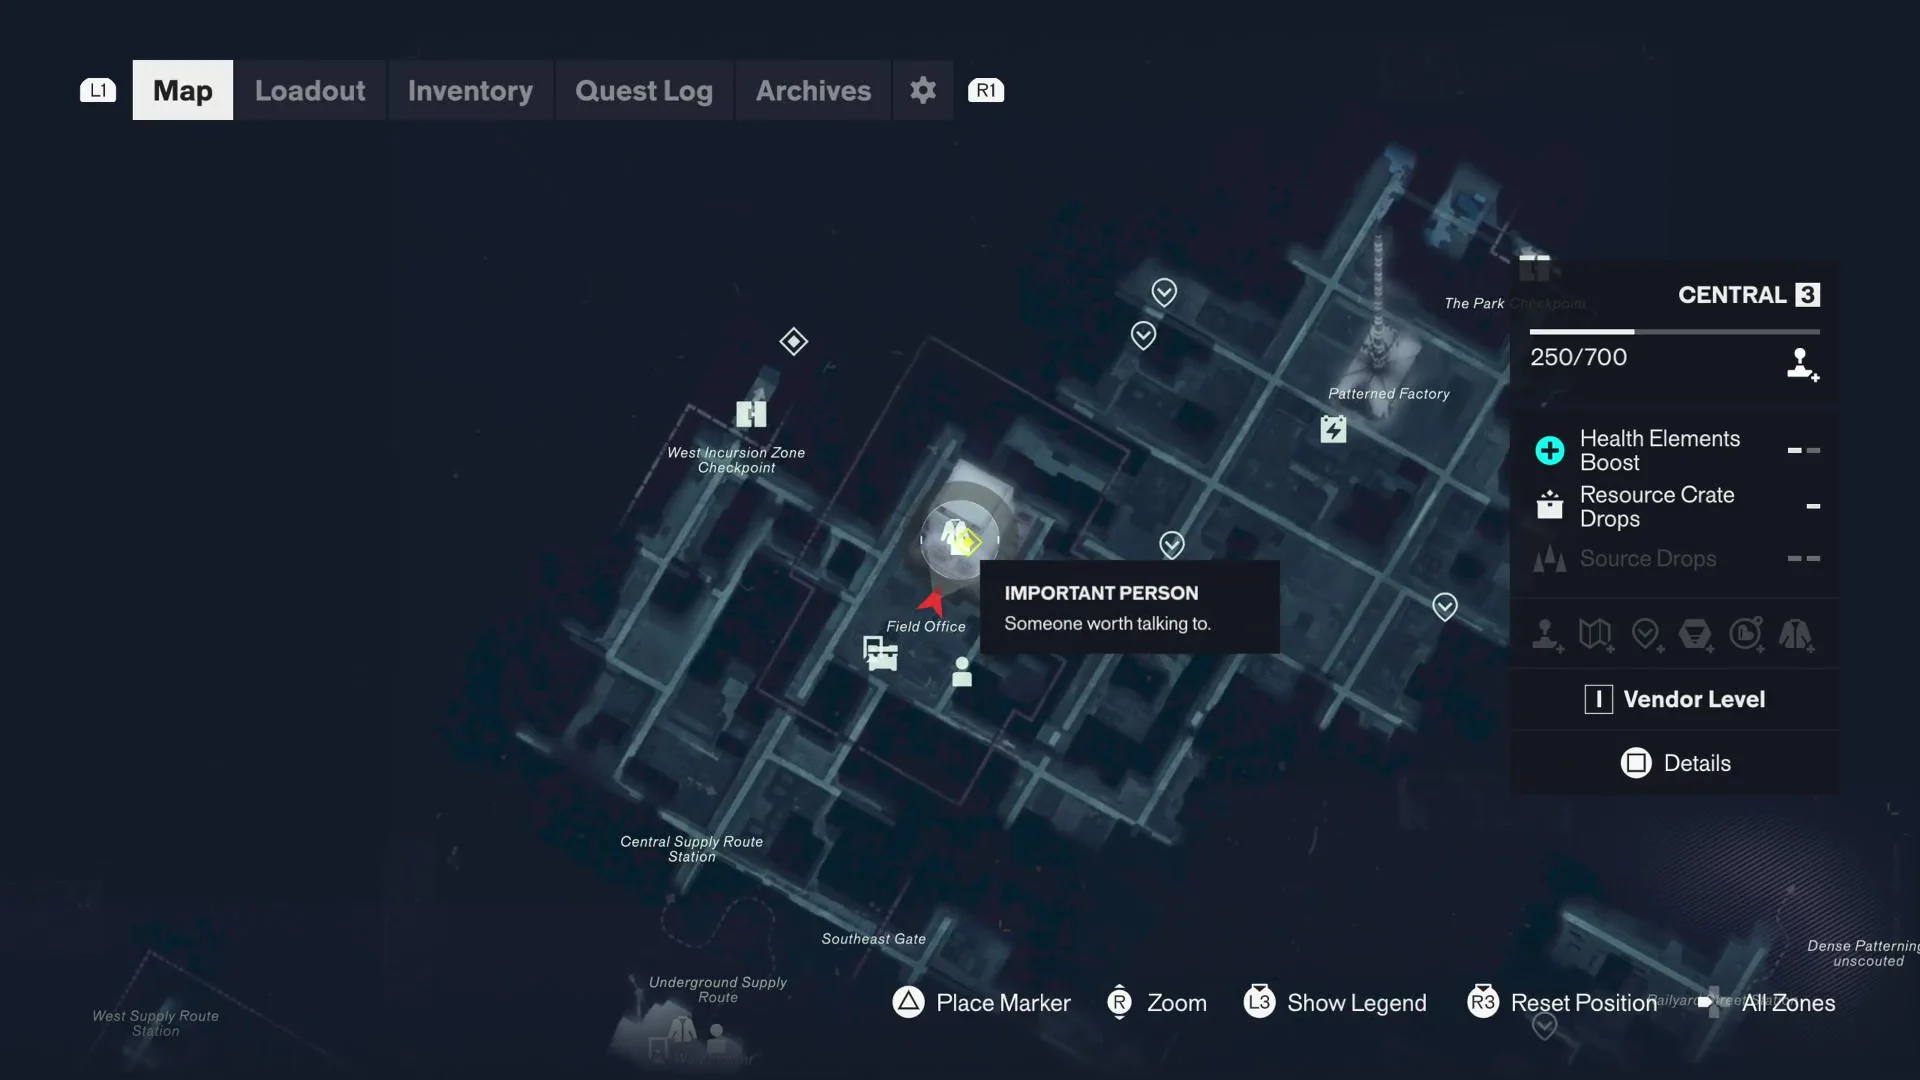
Travel to the Field Command building in Central 3. The entrance sits between signs for the West Incursion Zone and The Park. Go through the revolving doors into the circular lobby.
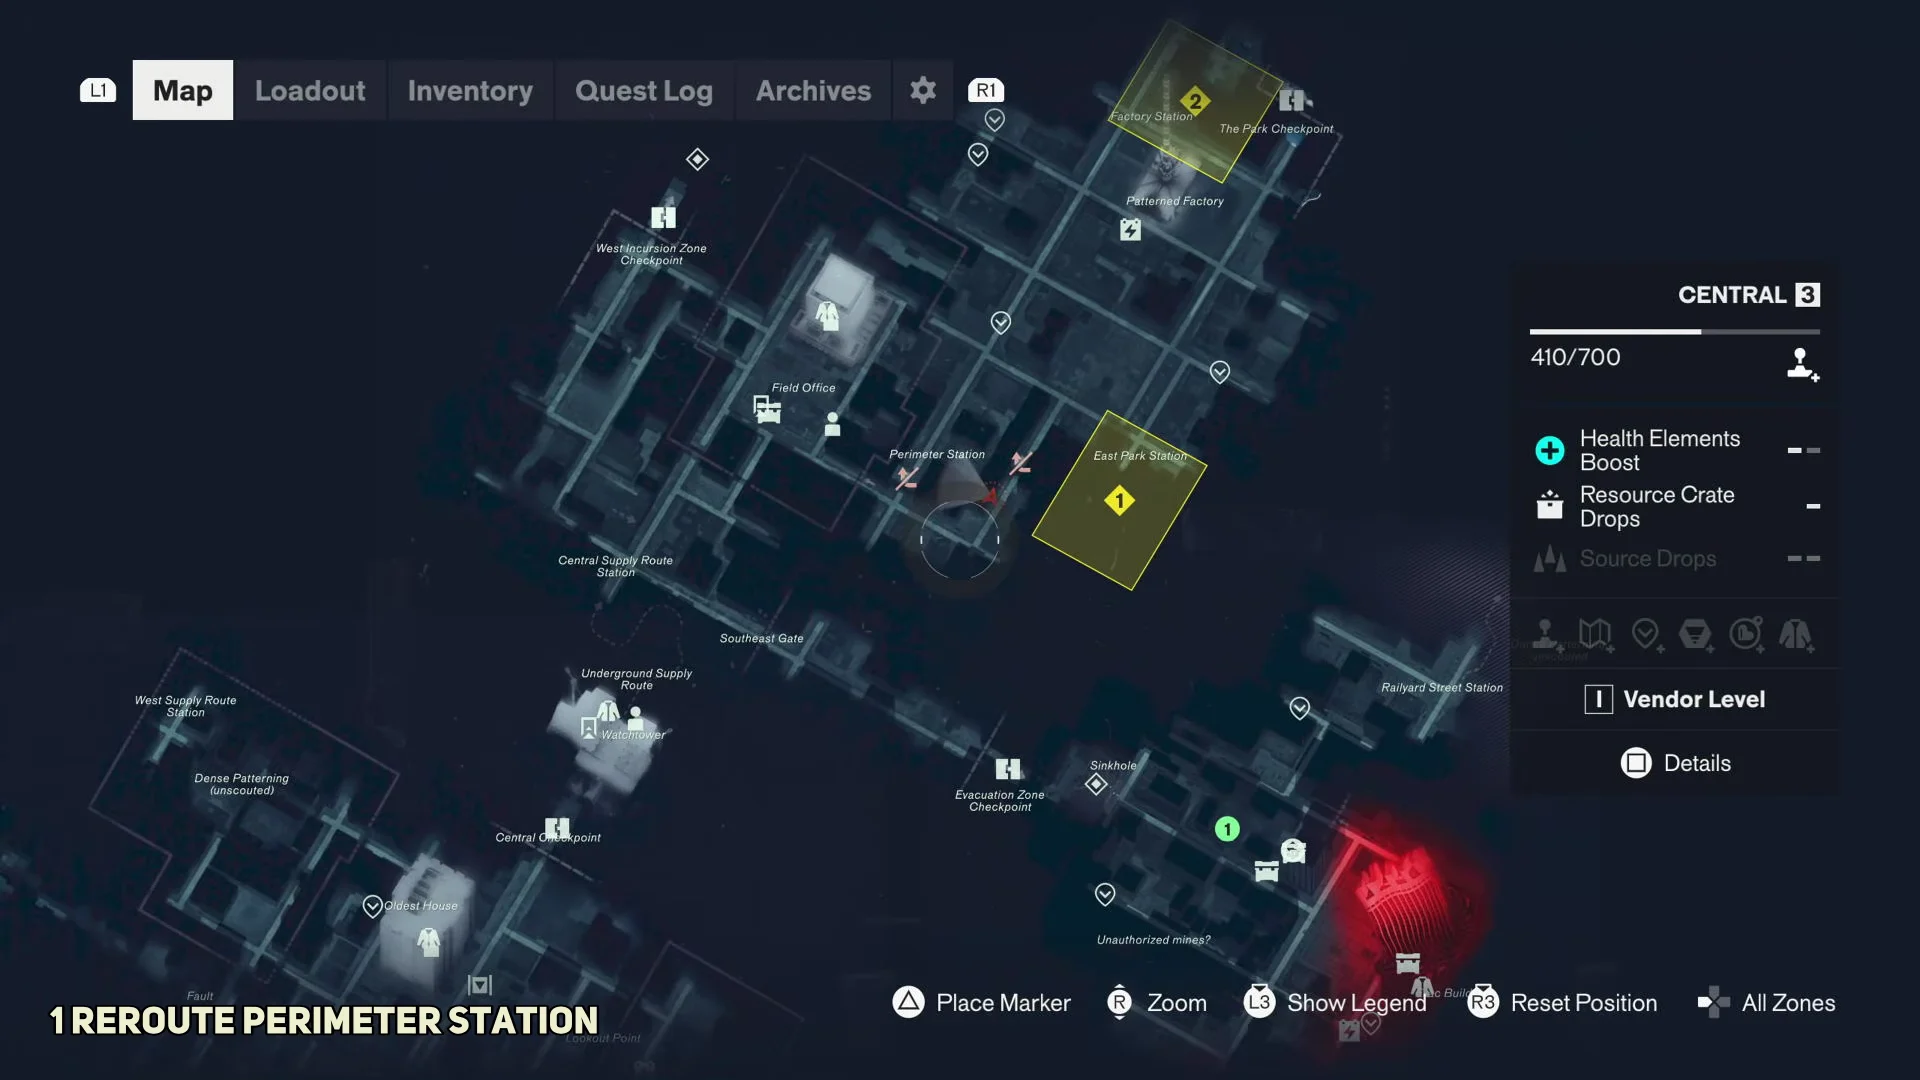
The map screen points you to the Field Office marker in Central 3, where Arish is waiting. Image: Remedy Entertainment / via @WoWQuest
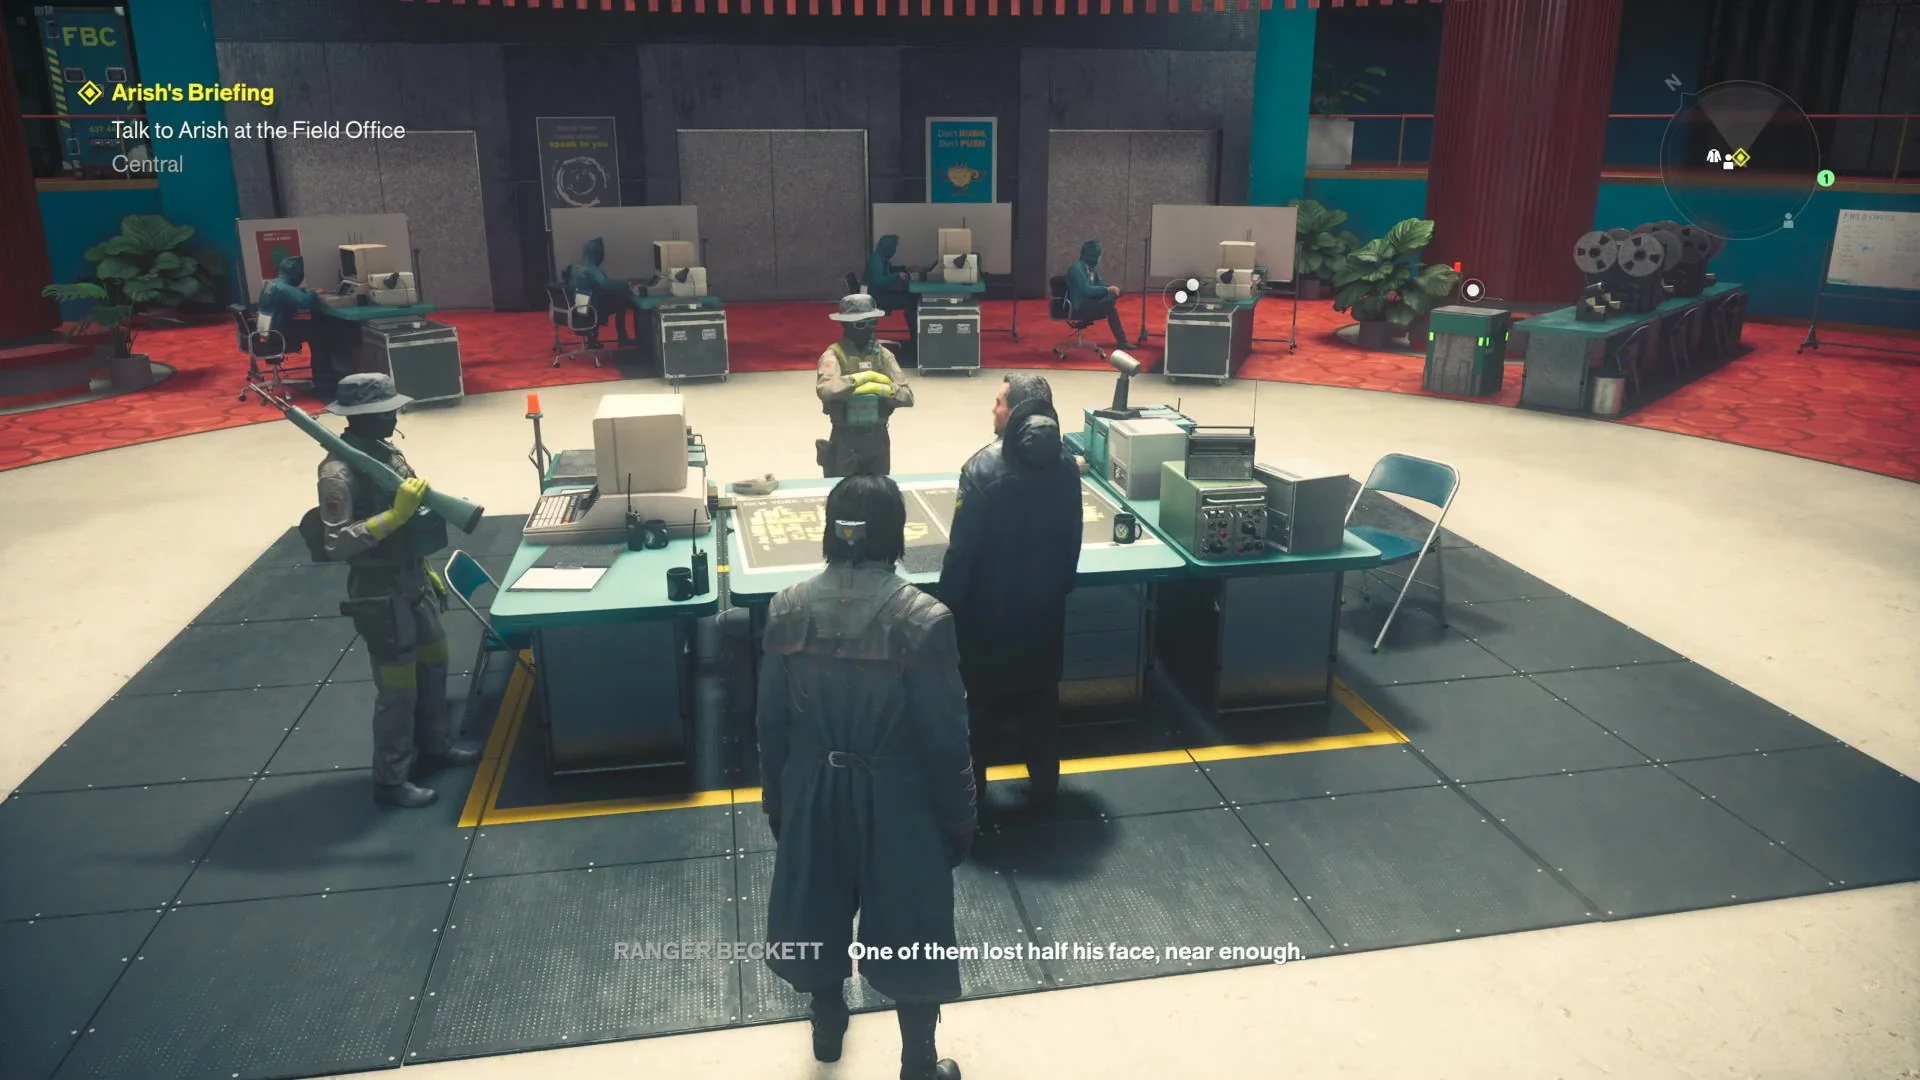
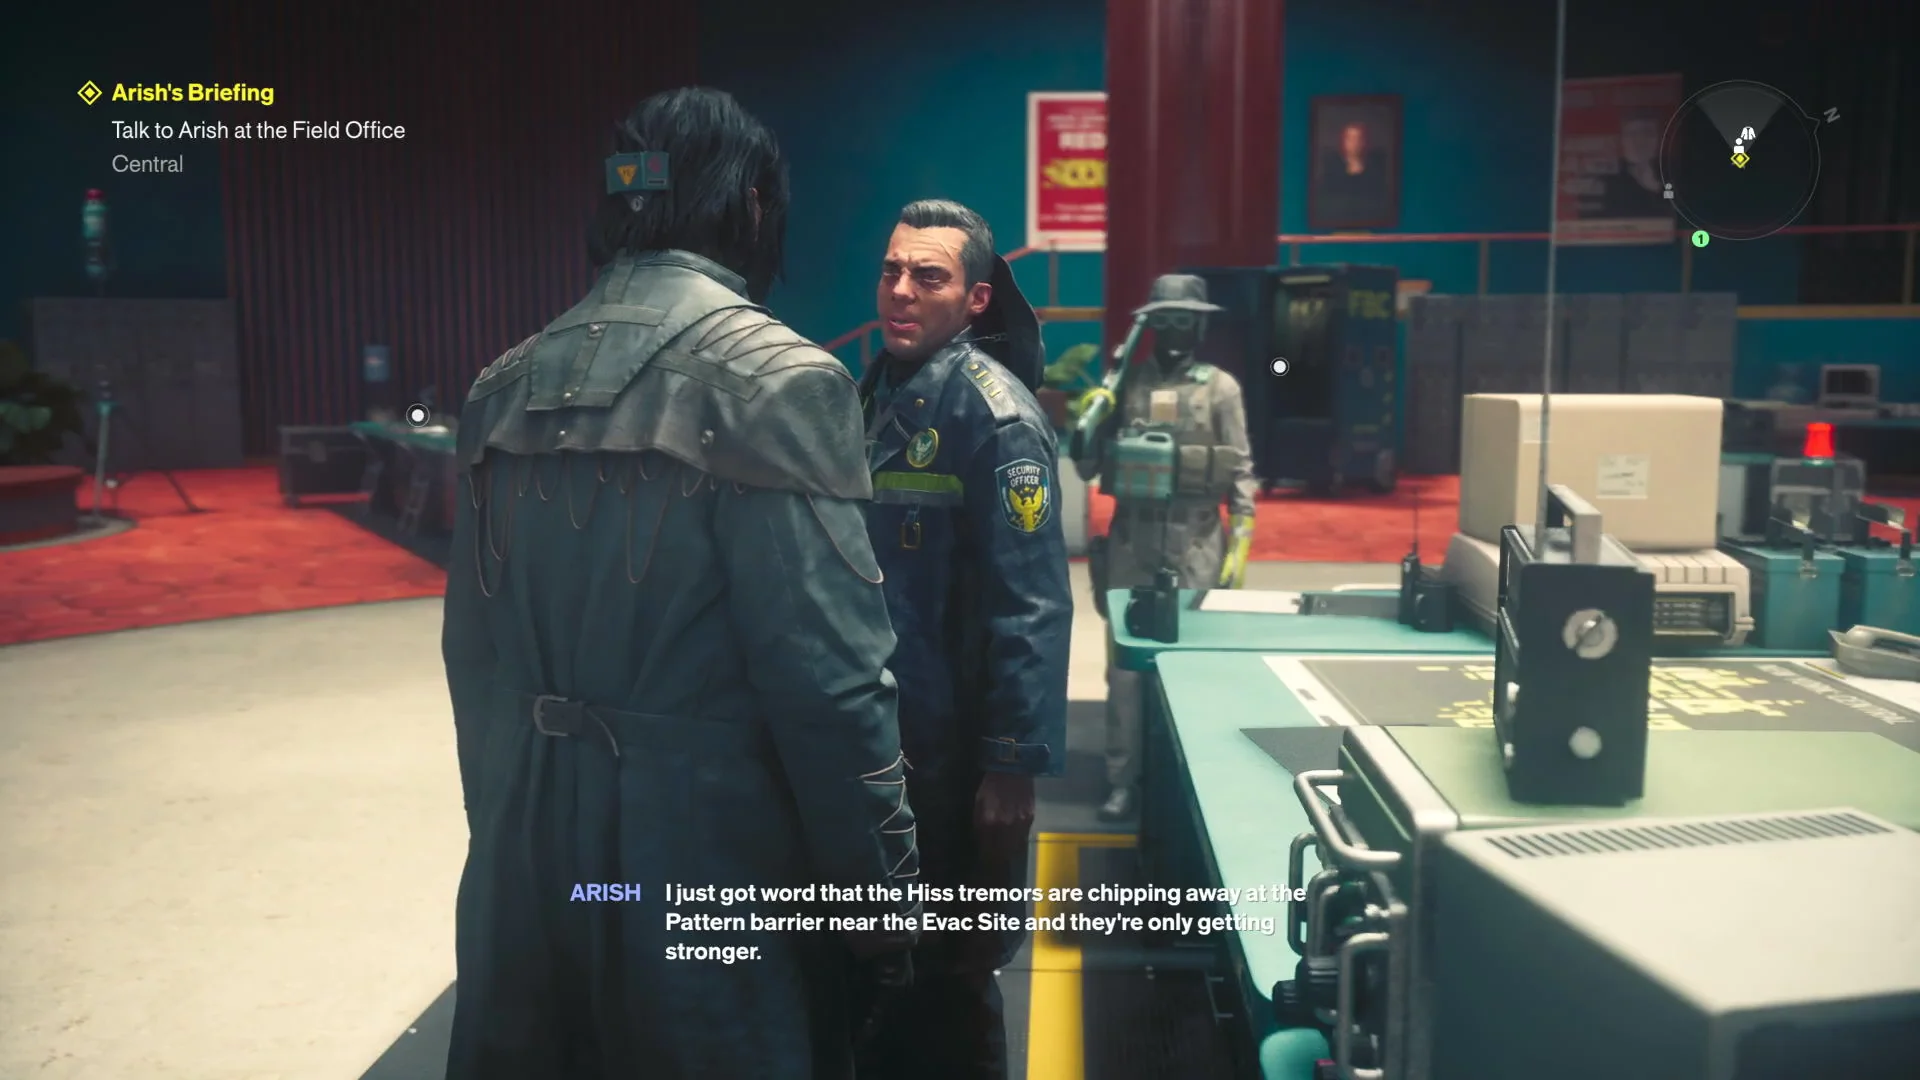
Speak with Arish and work through his briefing. He covers the Hiss tremors near the Evac Site, the plan to weaponize the Resonant Entity corpse into the Cancellation Field Device (CFD), and the diving bell needed to pull resonance from the Sinkhole.
Exhaust Arish's briefing about the CFD, the tremors, and the diving bell before the power grid comes up. Image: Remedy Entertainment / via @WoWQuest
When the option appears, pick “Anything else?” Arish then explains that the CFD needs power routed from New York’s grid through the subway, and that one of the connected stations has vanished.
Select “I’m not an electrical engineer,” and follow it with “I can handle it.” The “New Quest: Power Lines” alert appears at once; Arish’s Briefing is marked complete, and Notes: Plan of Attack is added to your items. With those notifications displayed, Power Lines is available and being tracked.
Before you start the reroute
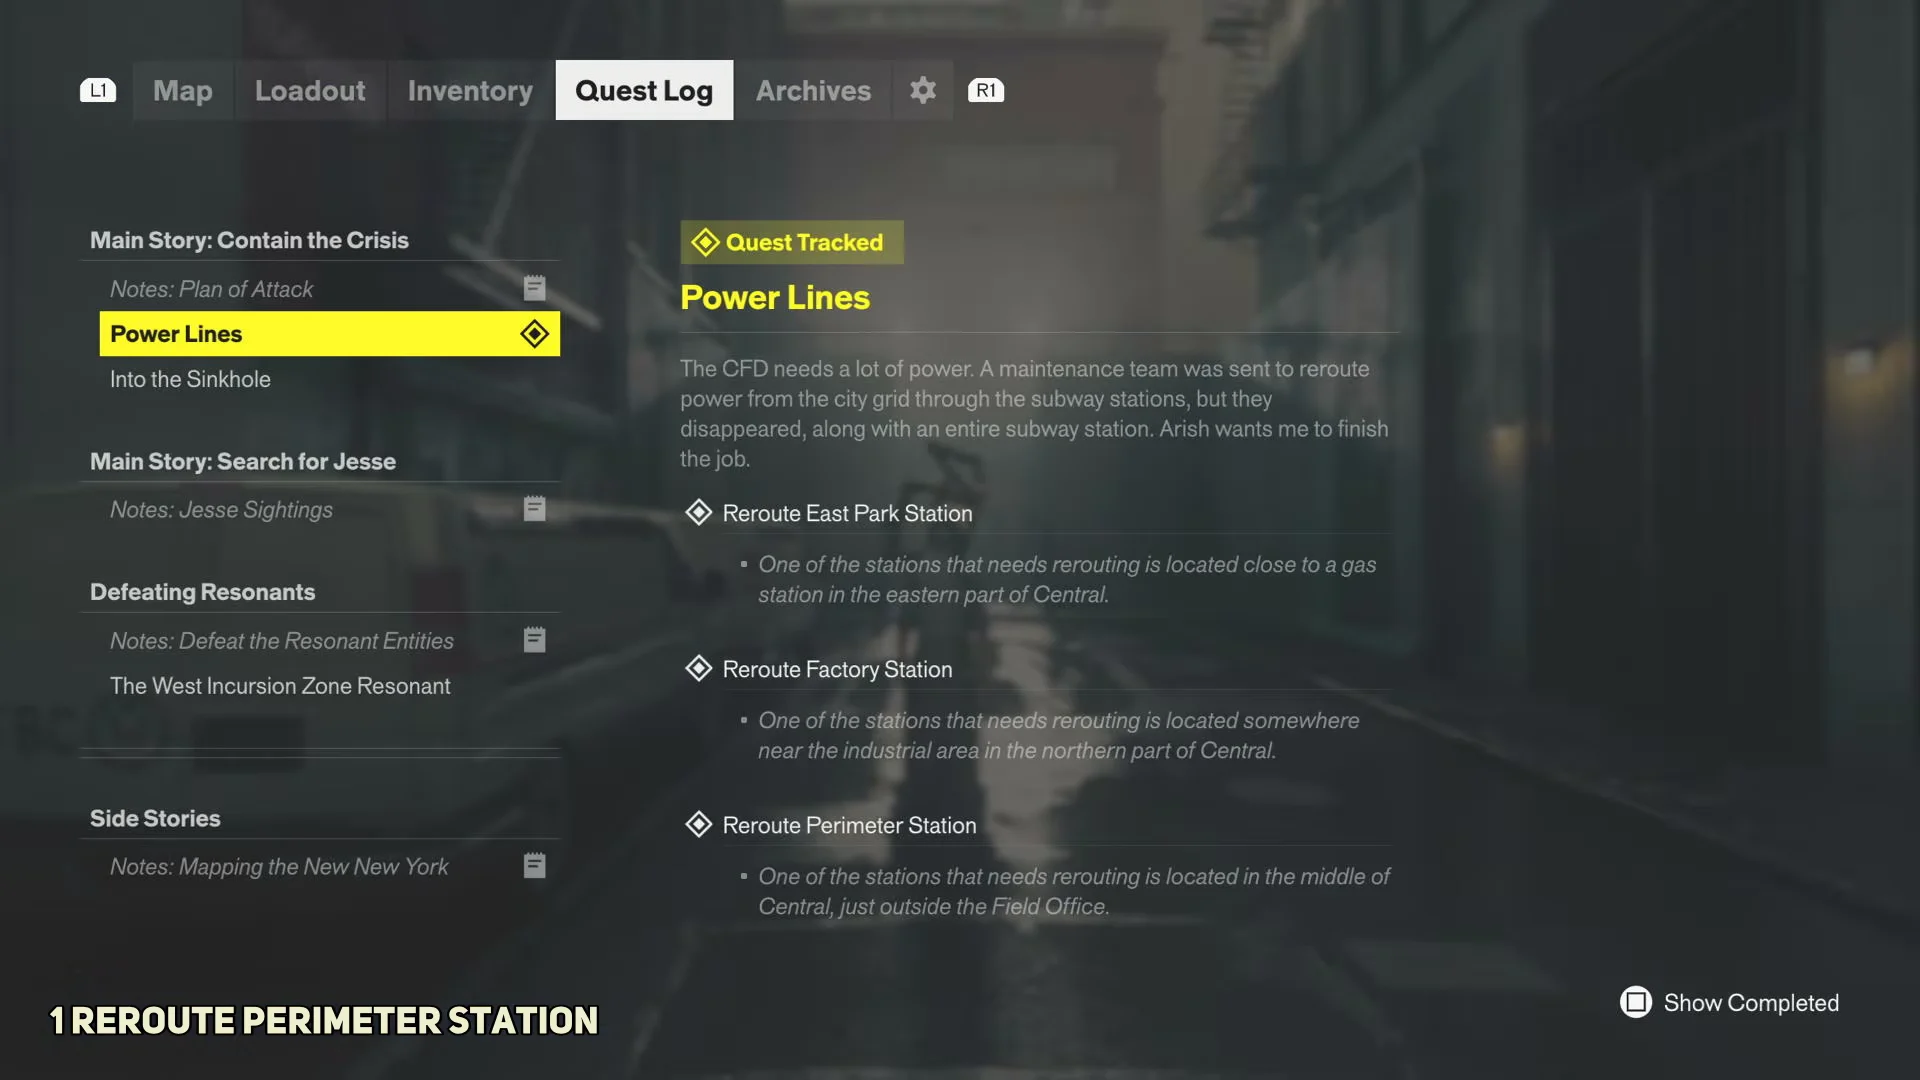
In the Quest Log, set Power Lines as your tracked quest, then bring up the Central 3 map to locate the station markers. Your base is the Field Office; take the Level 1 Keycard from Arish’s desk there. It grants access through all FBC doors requiring level 1 clearance on this route.
00:03Map & Quest Log CheckWith Power Lines tracked, the log lists the reroute objectives for each subway station. Shown at 00:03 in WoW Quests’s video. Image: Remedy Entertainment
At each surface station, yellow floor outlines indicate the spots for portable power cores, while yellow circuit traces show their connections. The main console lever becomes usable only after every required circuit has turned green.
You cannot pull cores or use a console while holding an object. Drop or seat each core in its socket before you interact with anything else.
Reroute the three Central stations
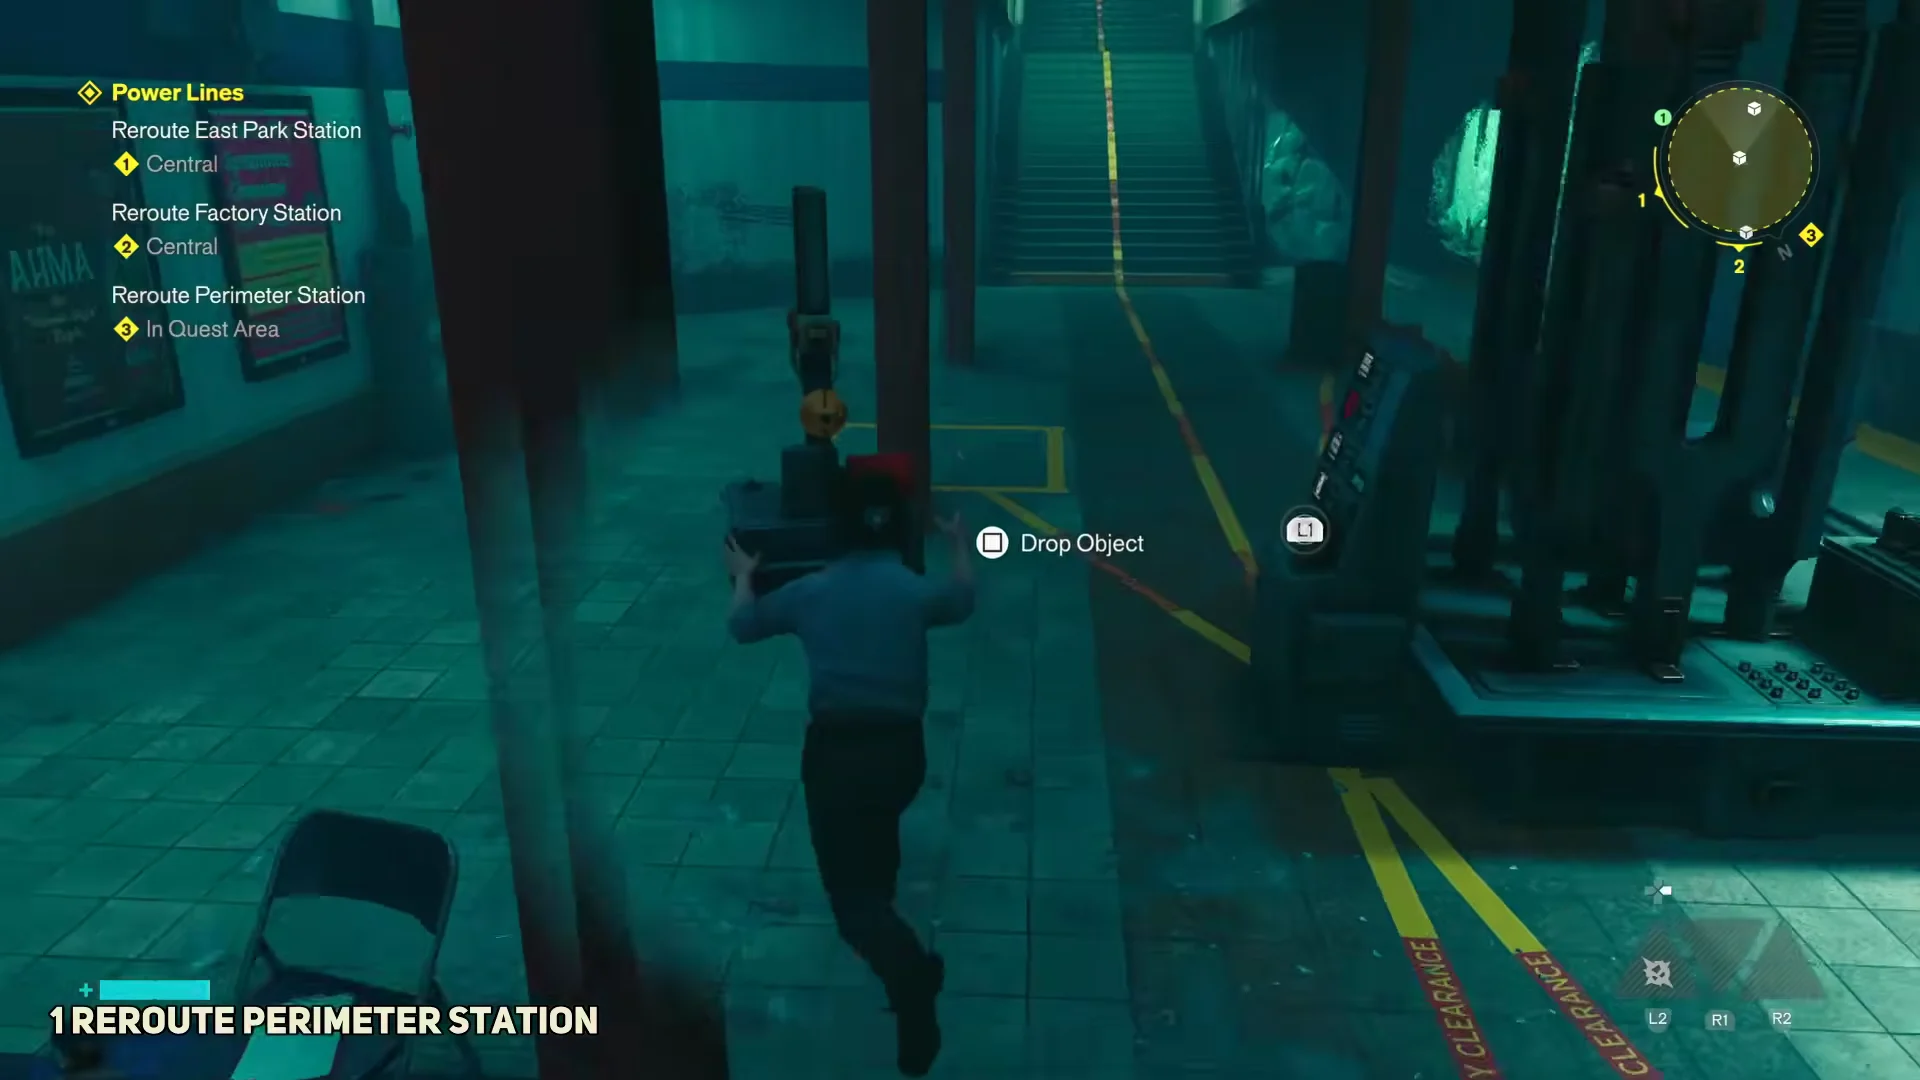
The route takes you first to Perimeter Station, then East Park Station, and finally Factory Station. Hiss block the stairs at every entrance, triggering a fight; defeat the waves before going below.
In Central 3, make for the streets east of the Field Office, then descend the stairs into Perimeter Station. Zoe calls over the radio while you go down.
Collect the three portable power cores scattered around the platform and side corridors. One core sits behind a locked shop door, so transfer the electric charge from a nearby battery to the shop’s battery to open it.
Make your way east to East Park Station, then descend underground. Look for the cores by the platform, at the newsstand, and in each of the two small shops.
Clear the puffy mold blobs off the yellow squares around the console. One core waits behind a gated shop, so activate the tuning device three times to teleport inside, break the door control, and grab it.
Set the three cores in a single straight line leading to the console, so they line up as one unit when viewed from the machine. Scattering them across other yellow boxes will not work.
Pull the Factory Station lever. A resonance spike hits, the station shifts paraspatially off-grid, and the escape objective begins right away.
Escape the off-grid tunnels
Your marker indicates a route to the surface, but the stairway now ends at a tiled wall. This is a deliberate dead end: turn back, descend again, and use the rail tunnel that branches left of the stairs.
Move through the dark tunnel and fight off the Mold as Dr. Florez talks on an emergency broadcast. Mold Scrappers are protected by armored shells, so crack them with a blunt weapon or Combat Ability before finishing with Executions. Pick up Clarke’s ID Badge from the dead worker by the tracks. A bench on the platform holds the “Notes on Calibration” document; read it before you attempt the puzzle.
Dr. Florez’s voice leads you to a roller shutter overgrown with Mold. Break apart the Mold clump with melee to open the way, then find the doctor and the civilians taking shelter inside.
Calibrate the Vanished Station
Rather than one console, the Vanished Station has a calibration unit on each of its two platforms. The maintenance crew’s notes explain the rules you need to follow.
Device A and device B are the two tuning units; begin by calibrating A.
Activate a tuning device out of sequence, and it shifts you physically onto the opposite platform.
Electrical current can pass through Mold masses, which connect severed cable ends and extend the circuit to terminals farther away.
Send power through the Mold clusters until it reaches the Platform A console. Since Mold carries electricity, its clumps can join cable endpoints separated by gaps. Shift charges between the wall batteries to unlock shops, grow or destroy the needed Mold, and uncover all four power cores.
Set the cores on the yellow squares on Platform A, then calibrate that platform. Calibrating B first shifts you to the other side, so keep to the A-then-B order.
Repeat the routing on Platform B. Leave the two mold blobs on the main white platform surface intact, since they carry the current into the device, and only clear the blobs sitting on the black metal squares before you set the cores. Then calibrate Platform B.
Destroying the mold that bridges the cables on the main platform cuts power to the tuning device and stalls the puzzle. Only break the blobs covering the yellow core squares.
Turn on the central calibration console to begin anchoring the station to Manhattan. A Mold ambush appears immediately, with the mini-boss Sandra among the attackers. Defeat every enemy to reconnect the station to the grid and restore its Central 4 link; you’ll receive Talent Point +1.
Rescue the survivors and finish the quest
Talk to Dr. Florez again to verify the rescue. After the conversation, the Quest Log shows Quest Completed, the district map reflects the restored station and its rejoined line, and you receive +1 Living Shard.
Reward
When you get it
Talent Point +1
Clearing the Vanished Station ambush
+1 Living Shard
Talking to Dr. Florez at completion
Power Lines is complete when Quest Completed appears in the log and the map displays the restored connection. You can then proceed to whichever Central objective is tracked next.